Showing posts with label DIY. Show all posts

Thursday, February 24, 2011

Rubbermaid Redo~Sweater Box

I got this Rubbermaid sweater box from the Salvation Army a few weeks back for 50 cents. You all know I am a sucker for anything related to organization. And Rubbermaid totes of any size I hoard like no tomorrow! :)
Well at 50 cents, who can go wrong. I didn't have a spot for it that day I brought it home. But I figured it out now.
I am someone who eats like 5 meals a day. I eat small portion snacks and then 3 regular meals. And with my new work schedule I don't get a "real" lunch until around 2pm. So snacks are vital for me to get through my work day. Especially since I eat my breakfast around 7:15am.

Well this is what my sweater box looked like when I bought it. As you can see it is quite old. The country blue top definitely speaks 80's. But again, at 50 cents, it was still a steal!!!!

(Sorry I forgot a before shot so I just flipped the lid over so you could see it's original country blue color)

Here she is AFTER a coat of Hot Pink Spray paint. Instant prettiness! :)

And since it will be housing snacks at work I lined the inside with pretty scrapbook paper cut to fit.

Here's another side view.

And the other side.

In case you were wondering where I got the pretty scrapbook paper here she is. It is a pack by Colorbok.
It comes with 8 12x12 sheets of coordinating paper. I got it at Target for only 99 cents.
I am actually working on another little project with this VERY SAME paper.
So stay tuned!!!

Enjoy!!!


Wednesday, February 16, 2011

St Patty's Day Wreath Revamped!!!


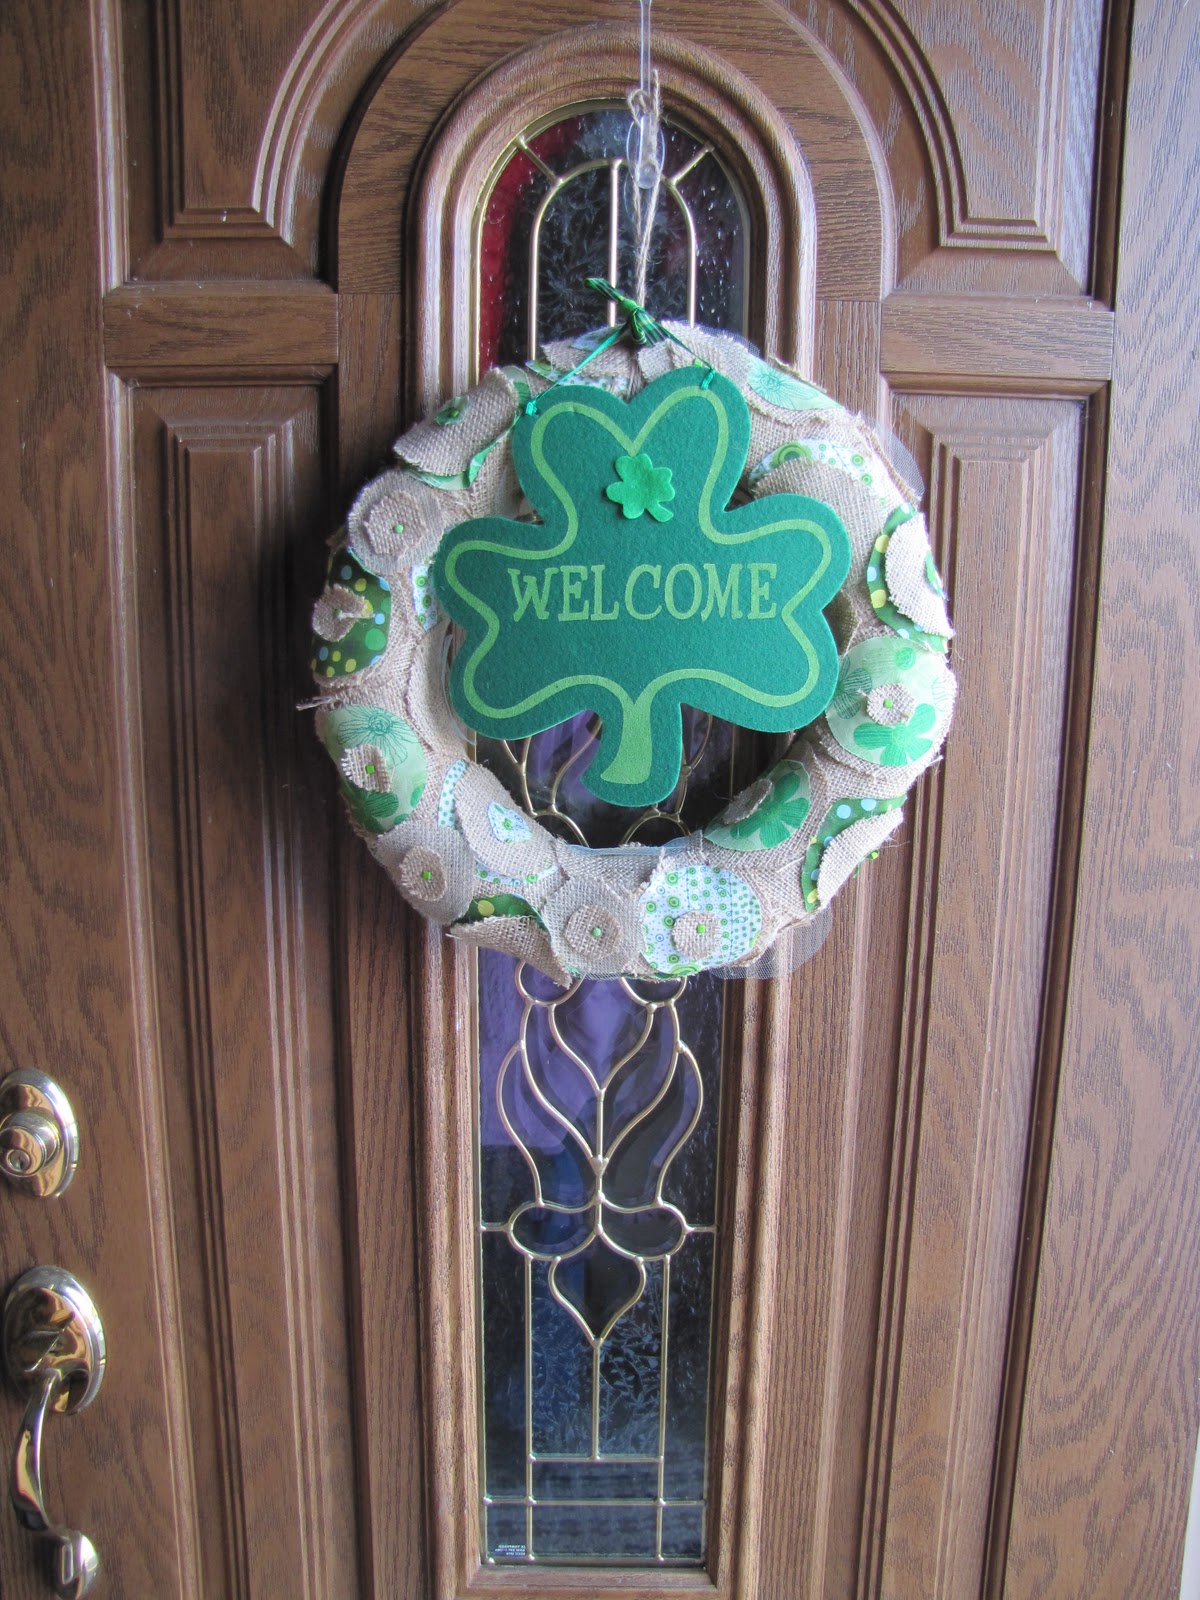
Now that Valentine's Day is over, I am swapping out my Valentines Day decor for St Patty's day. I pulled out my wreath from last year and thought, it needs a little something more!

Do you all remember my St Patty's Day DIY wreath
I made last year???
Check it out HERE!
Here's a photo to refresh your memory! :)

WELL, I just happened to be walking through the St Patty's day section in my local Dollar Tree and came across this!
I thought, it was the perfect accessory to add to my DIY wreath!
So I tied it on, and
WHOLA!!!

Instant update!!!

I LOVE the updated look!

I will be doing some more St Patrick's day decorating this week. Will post details soon!

Enjoy!!!

I am linking up to these FABULOUS Parties:

Making


Monday, December 20, 2010

Cute & Easy Thrifty Gifts: Wearable Flower Pins

I was shopping at Bath & Body Works works the other day and came across these super cute gift toppers for $2 each!
The instant I saw them I knew I had to have them, and I had bigger plans than just topping a gift.
I wanted to make some decorative pins to give as gifts!

I already had the supplies I needed to pull this off. (Adhesive Bar pins, thread, and a needle).

I started by cutting off the little ribbons that were attached. Then I added the adhesive backed bar pins. I then sewed the bar pins to give them a bit more stability for wear & tear.

(These last 2 photos were taken by my 7 year old
so they are a bit off centered )
So there you have it....super CUTE, fast & easy Wearable Flower Pins. These would make great last minute gifts for your friends, sisters, moms, aunts, grandmas, even teachers! Great project for those on a budget too!
Enjoy!!!

I am linking up to these FABULOUS Parties:


UndertheTableandDreaming
 

Photobucket


Wednesday, December 15, 2010

Kids Snowman Handprint Ornaments

I saw this idea over at "Full of Great Ideas" blog. I thought it was just darling. Check it out here.
I usually try and give the grandparents something homemade from the boys every year. When I saw this, I said to myself, this was my idea for this year.
This was WAY EASIER than I anticipated. I actually put off making these thinking they were going to be a real pain & MESSY. But I was happily surprised when the kid's portion of the project literally took 5 minutes each. We made 16 total ornaments (8 for each kid). It was super easy & cleanup was really a snap.

This is what I started with: A Dollar Tree find $1 for each package.


Here is the end result:


I also added this little poem to each ornament.
*I got this from her blog as well.

"These aren't just five snowmen
As anyone can see.
I made them with my hand
Which is a part of me.
Now each year when you trim the tree
You'll look back and recall
Christmas of 2010
When my hand was just this small!"


Feel free to use the tag I created in Picnik, just please give credit back to my blog.

Go to Full of Great Ideas blog for the full tutorial here.

Enjoy!!!!


I am linking to these FABULOUS Parties:

Ornament Party


Monday, December 13, 2010

Up cycled Thrift Store Ornaments

Last week my youngest & I went to LaCrosse to try and "almost" finish up the Christmas shopping. We got all but 4 people done. We went into one of my FAVORITE consignment shops called "What a Girl Wants". For you women readers out there, this is a wonderful shop! They have everything a girl would want there: purses, jewelry, clothes, shoes, home decor & so much more! I take things there to sell quite often. Especially during the fall & winter months. (BTW...they are also on Facebook, where they post specials & discounts ....find them here!)
*******UPDATE: This Shop is No Longer Open...Bummer!*******

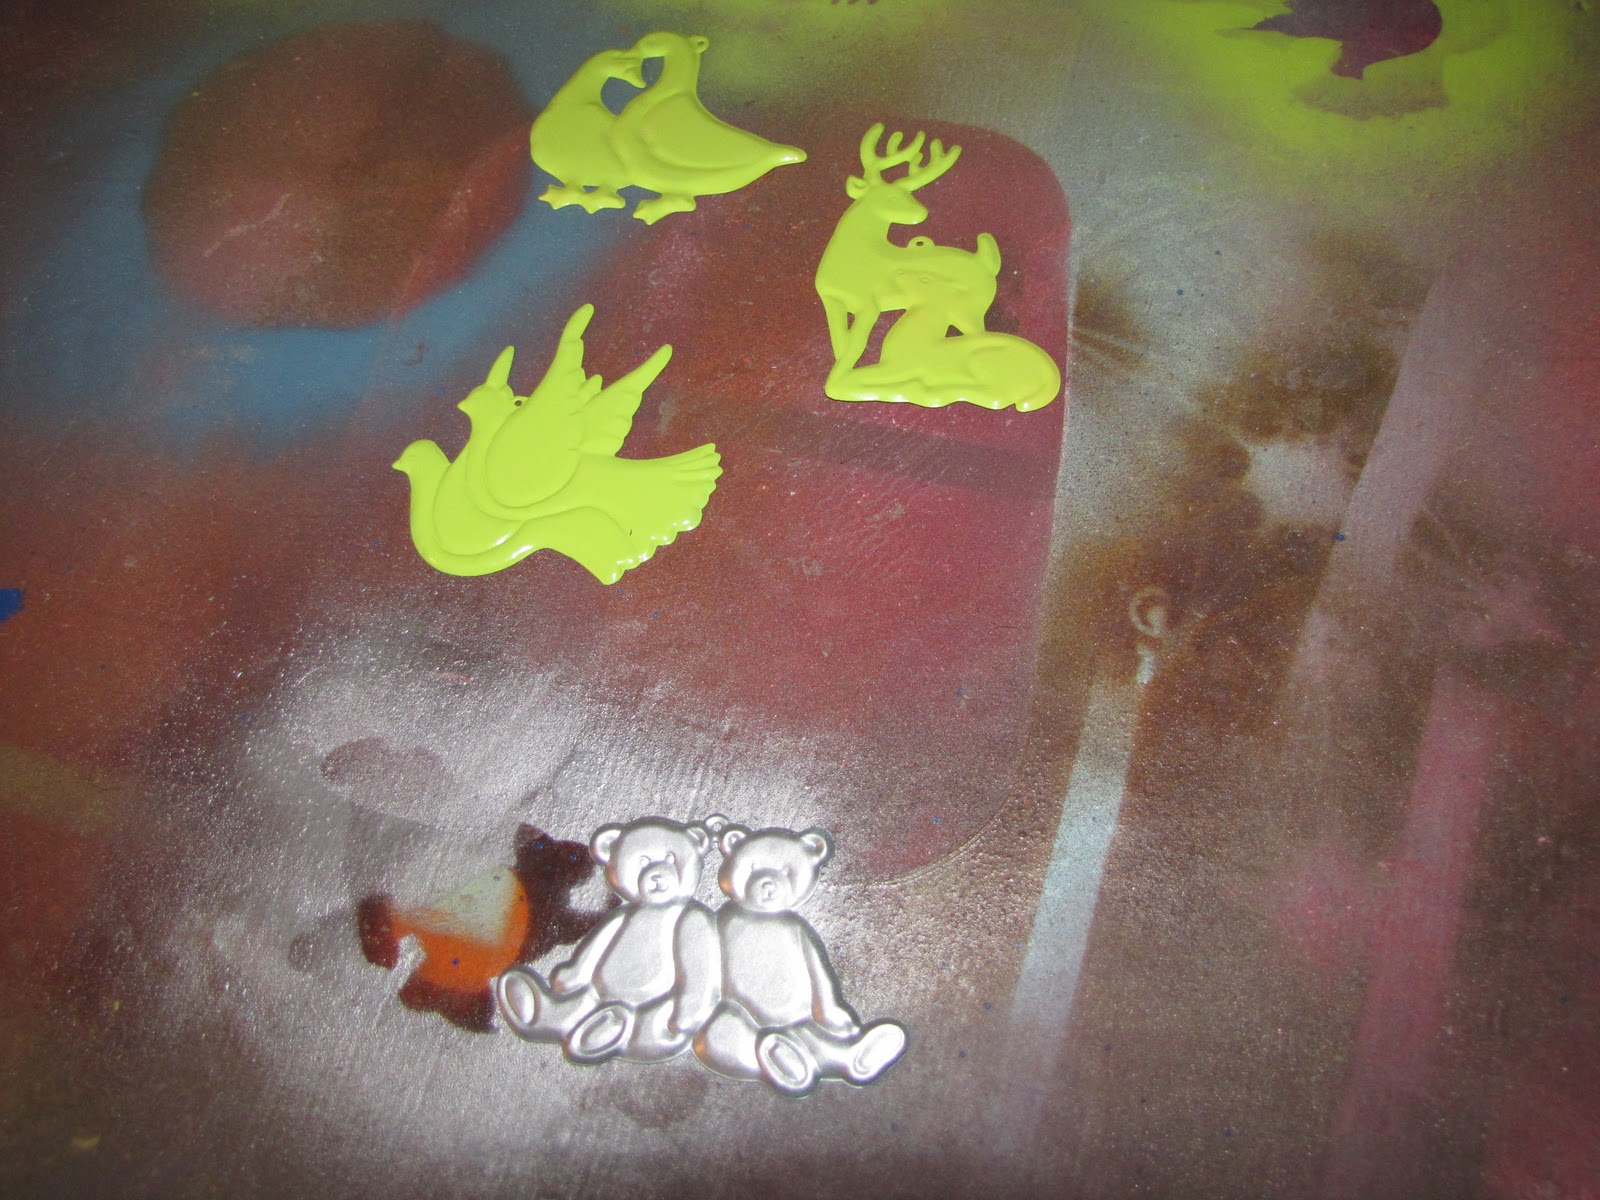
While there I came across some vintage ornaments. Now the peach & mint green colors really aren't my favorite color choices, but I LOVED the shapes.


So for 49 cents I got 2 deer, 2 doves, a goose & teddy bears (about 8 cents each!!!).

I started off by taking off the flowers & ribbons that were just hot glued on. And removing the gold thread hangers. They all came off very easily. (I did save the hangers to put back on after they were painted....I also saved the peach & mint colored ribbons & flowers for a possible future project,you know me: I don't throw ANYTHING away!!!!)

I just primed them with spray paint primer, and then spray painted them the colors I really wanted:
Green, silver & white.


Once the spray paint dried I sprayed them once again, this time with spray adhesive. Then I generously sprinkled them with glitter. I tapped off the excess glitter &


WHOLA!!!


The green ornaments are a bit more green then the picture shows & they are all super sparkly!


Cute up cycled ornaments.
I am keeping a few for my own tree.
And giving some for cute present toppers on my gifts.
What do you think???


I am linking up to these FABULOUS parties:


Sumo Sweet Stuff 


Ornament Party


Monday, November 29, 2010

Christmas Vinyl Stocking Hanger

Do you guys remember when I won $50 worth of vinyl from Today's Creative blog & Say it on the Wall??? Check it out here! 
Well here is one of the projects I made with some of it. It is a Christmas Stocking holder.
We don't have a fireplace or a mantle :(
So hanging the Christmas stockings have always been an issue on where can I hang them. So this is my solution.
I started with a old board I picked up at the Habitat for Humanity Restore a few months back for 50 cents.

I sanded it down good. Then I spray painted it red.


Once it was dry & added my beautiful vinyl from "Say it on the Wall".
Then I added silver hooks I picked up at Menard's for 79 cents a piece.


I added some picture hangers on the back & WHOLA!!! A new way for me to hang & display our Christmas stockings!


Enjoy!!!!


I am linking up to these FABULOUS parties: