Thursday, November 11, 2010

Special Rice Krispie Treats...a Halloween Candy Experiment

This is a recipe that is a bit different than the traditional Rice Krispie treats. I modified it a bit because after our school's community Halloween party, my son came home with this.


A marshmallow pickled Frankenstein head (Basically a HUGE peep...you know the little yellow birds that come out at Easter on all the candy aisles at the stores AKA a marshmallow bird covered in colored sugar).
He won it after getting 3rd place for the "Scariest Costume" in the costume contest. He was Frankenstein. His costume I threw together that morning in like 15 minutes. It was literally All the time I had because I was getting ready to go decorate for the Halloween party, since I am on the committee. He had changed his mind at the last minute & was begging to go as Frankenstein!
Well I guess my 15 minute quick throw together costume was worth it, as he placed!
Anyway, thankfully he didn't want to eat the Marshmallow head (which I was happy about), although my youngest son did! He wanted to save it forever, as a Halloween decoration. I had to explain to him that it was food & food would eventually get rotten. So I convinced him we would use it to make "Halloween" Rice Krispie treats which he loves.

So here's the recipe:
6 cups Rice Krispies Cereal
3 Tbsp Butter or Margarine
1/2 package (10oz size) Marshmallows
1 Pickled Monster Head (from Walmart)

I followed the same directions on the original recipe.
1. In a microwave safe bowl, heat margarine, marshmallows & Monster head on HIGH for 3 minutes, stirring after 2 minutes. Stir until smooth.
2. Add the Rice Krispie Cereal. Stir until well coated.
3. Using a butter spatula or waxed paper, press mixture evenly into a 13 x 9 x 2 inch pan coated with cooking spray.
4. Let cool & cut into squares.


Other than the fact that they had a slight green & black tint to them, they were just as delicious as always! In fact several people that tried them thought they tasted sort of like Lucky Charms.

Enjoy!!!


Wednesday, November 10, 2010

Thrifty Twine Jar

OK, I had an idea for this Christmas apothecary jar I found at the Salvation Army for 50 cents. I thought I may be able to use sandpaper to get the Christmas tree image off so I could use it all the time instead of just the holidays. Well it didn't really workout as I expected. Instead the glass just got all scratched up. This happens to me sometimes. I have this ingenious idea, but then when I try and make it come to reality, I fail!
So I put it in my craft room and thought about it for a few days. Then I had another idea. Well since I can't get rid of the image, why not hide it!?! (especially since I had scratched it all up & it still had a Christmas tree on it) 
So that is where this idea came to play. I love the inspiration I found in the Pottery Barn catalog. They used twine in several of their displays. I happened to have a couple balls a twine laying around.


Here is my jar after trying to sandpaper off the Christmas tree image.
I basically just started by hot gluing the start of the twine on the bottom base & wrapped it around the jar until I got to the top. (This is a bit time consuming, but way worth it). When I got to the top I hot glued the end.  This is my end result!


I just plopped in a candle & WHOLA!! Oh, and the top of this jar actually fit some of my other Apothecary jars. So for the time being, it is home there!

Enjoy!!!

Tuesday, November 9, 2010

Thanksgiving/Fall Decorating in Dollar Tree fashion

Well last week I got all my Halloween decorations down & my fall/Thanksgiving decorations up. In amongst all my furniture makeovers I have in my garage right now.
Most of my decorations come from the thrift store
or the Dollar Tree.

Let's take a closer look.

The faux Mercury pumpkins were made using Dollar Tree pumpkins. See how I transformed them here.
The candle pedestals are on are all from the Salvation army from 30 cents to $1.
The "Blessings" glitter sign is from Shopko's fall clearance last year.
The plate is from the thrift store & I just removed the vinyl cling from my Halloween display & replaced it with a fall gel clingy from the Target Dollar spot. The bird tea light holder was a Dollar Tree find earlier in the year. The tree you may remember from my Halloween display. Thrift store find also.

Here is my "Knock Off Wood" table I created here.
Pottery barn was my inspiration for this area. They had fabulous ideas in their fall catalog.
The leaf garland you see is also from the Dollar Tree.

Some of my apothecary jar creations with leaves from the Dollar Tree & twine. See how I made the apothecary jars here. (*all from stuff found at the thrift store or Dollar Tree)

Here is another with some craft grapevine wreaths in the bottom, some loose leaves & a candle.
(*Don't worry folks, I don't plan on lighting these candles)

This twine wrapped glass jar is a creating I made after an "idea" I had for it previously flopped! You win some, you loose some. So this was my fix. I love the texture it brings to the display. (*I will show you how I created this tomorrow...stay tuned!)

Here is another one of my Apothecary jars filled with mini gourds from where else, The Dollar Tree.

I just bought three different colors & mixed them in the jar.

Here is my DIY Cloche. See how I turned this "cheese dome" into a cloche on the cheap here!
I just added a pumpkin from the Dollar Tree.


This apothecary jar I found at Salvation army for 90 cents. I just filled it with acorn vase filler from....The Dollar Tree.

I bought 2 bags. I LOVE acorns. They also had gem shaped ones in the same color schemes.


Another view.

So there you have it folks. My Fall/Thanksgiving display. Although I love how it looks, it is hard to be too excited when all I can think about is my CHRISTMAS display. Hard to compete with my FAVORITE holiday!

Enjoy!!!


I am linking up to these fabulous parties:

Thursday, November 4, 2010

MIA...For a good reason!

Sorry Folks, I have been MIA this past week. Sorry about the lack of posts. I have had ALOT going on. I have several big projects I am currently working on. As well as making the transition of Halloween decorations down & more Fall Thanksgiving type decorations up. And some home organization to top it all off. WHEW!!! I am tired just thinking about it all! :)

Here are some sneak peeks as to what I have been up to this week in projects!

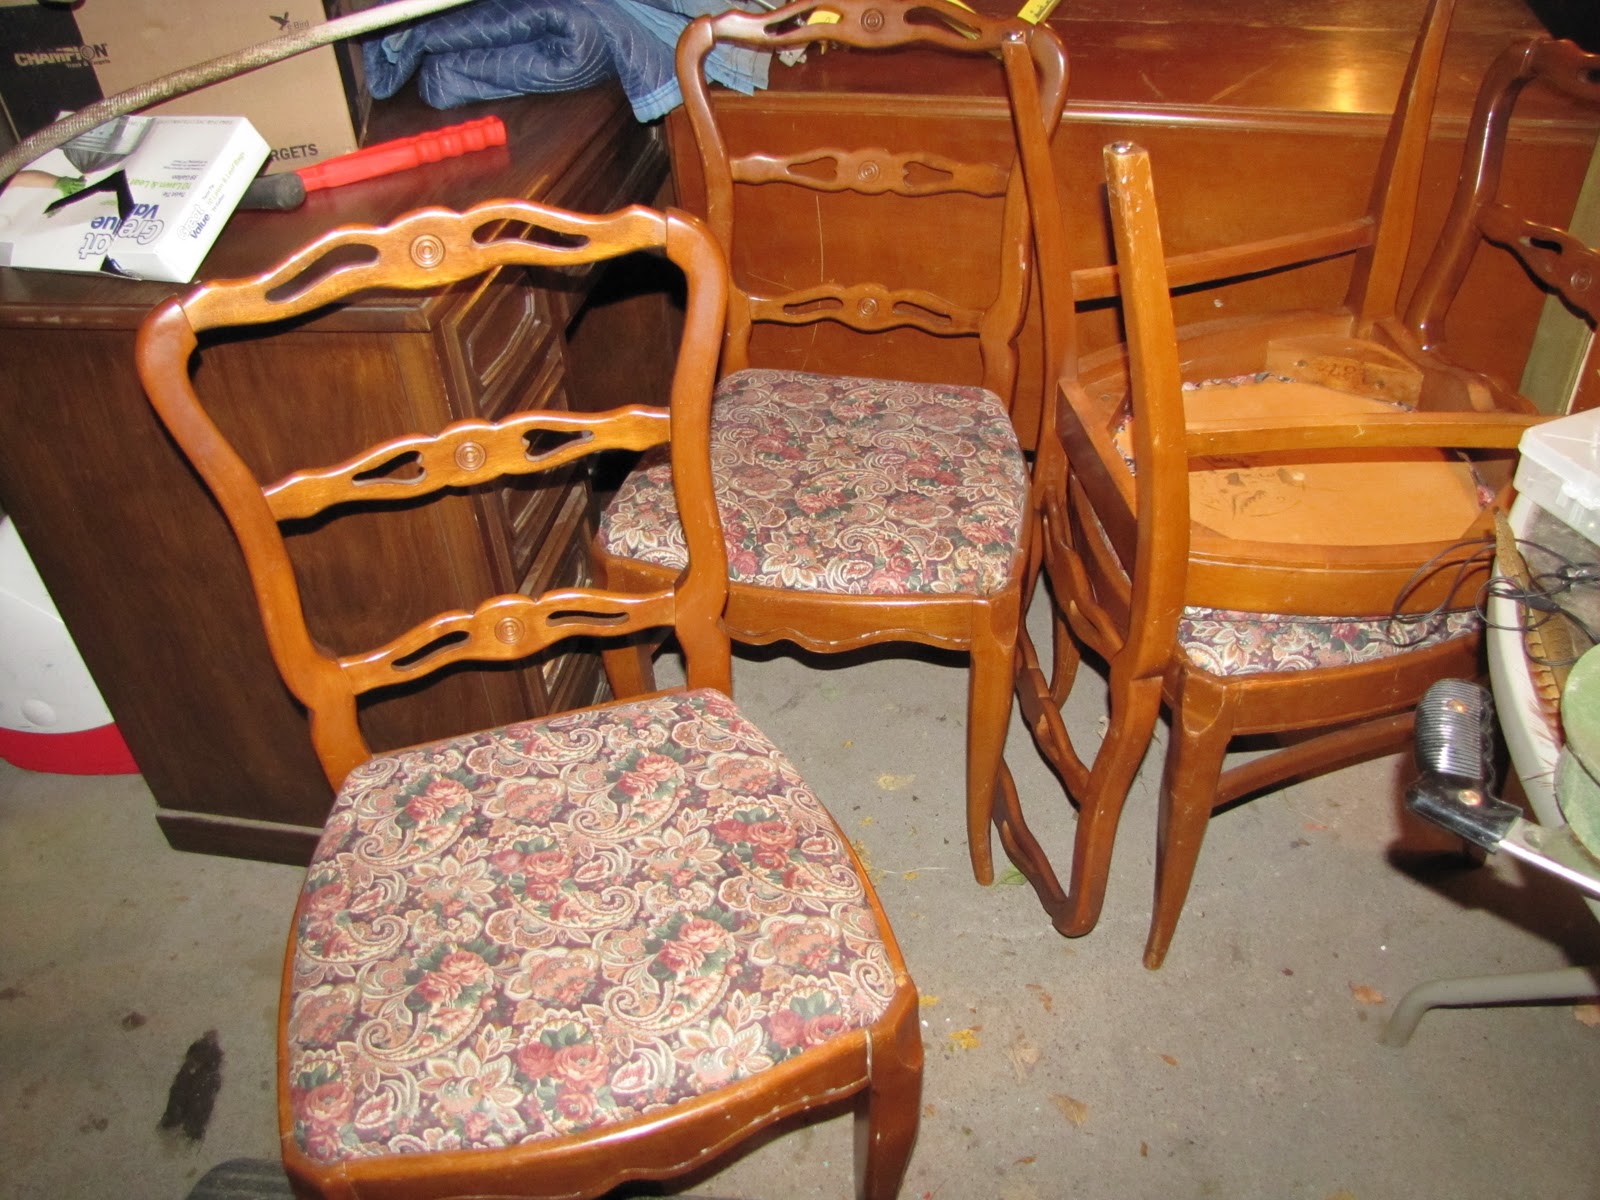
I attended a auction last week with really no intention of buying a single thing. BUT.....they had such sweet deals on furniture that I couldn't pass it up! :) Most I am redoing to sell, but with winter is on it's way here in MN so I need to get these out of the garage!

Here are some of the pieces I scored!
4 Chairs

A matching dining room table

A sweet desk

Large Victorian Frame

A beautiful hutch that also matching the dining room table & chairs

Chair

Side table

Yeah I know...I got alot of items, but I only spent $44 on what you see above! Who could pass up a deal like that??
So I have been busy refinishing, painting & giving these pieces some TLC. So now you can understand my absence on the blog! :)

Enjoy!!!