Showing posts with label Kids. Show all posts

Monday, February 14, 2011

Kid's Birthday Gift Idea...Dollar Tree style

Here is what I have been putting together for my son's friend's birthday parties. He has been invited to 4 birthday parties in the past month. This is a simple, inexpensive idea. Instead of trying to shop for a toy or a game that we hope they like or don't already have I came up with this idea.

The Movie Gift Certificate package.

What you will need:

Popcorn tubs
(either plastic or cardboard...
I got mine at the thrift store for 25cents each)
Cello Wrap
(I got mine from the Dollar Tree)
Basket Shred
(also from the Dollar Tree)
Movie Theater Sized Candy
(Dollar Tree)
Movie Gift Certificate
(I usually get a $10 one, but obviously you do what is in your price range)


Here are all my supplies.

I find these popcorn tubs all the time at the Thrift stores, but you can also find them at the Dollar Tree or the Dollar Spot at Target. I have also gotten actual popcorn tubs from the movie theater that I buy the gift certificate from.)

 
Basket Shred (I use yellow because it looks like buttered popcorn!) This 1 bag can make 3 gifts usually.

Gift Certificate to our local movie theater.

Here they are all put together.

 I love giving this gift! I would much rather give an "Experience" then a piece of plastic! Especially in the $12 range that I spend total on each one of these.

What about you guys? What unique ideas do you have for Kid's birthday parties that your children are invited too?

Enjoy!!!

Friday, February 11, 2011

Recycled Crayon Hearts for Valentine's Day

This project is really EASY & really THRIFTY!
My kids really enjoy this project. We have made these crayons several times before. They love creating different color combinations and love seeing the end result.

Supplies you will need to get started:
Old Crayons
Muffin Tin/Silicone Mold (any shape or size)
*My heart shape molds came from the Dollar Tree.
Almost every holiday they have them in the coordinating shapes for that season.
I have had the heart molds for a few years now.

This gallon Ziploc bag came from the Salvation Army on one of my Thrift Store outings. 30 cents for this entire bag was a great deal in my book.


You need to peel all the wrappers off the crayons. (This is the time consuming part!)
Then just break them into pieces. If you break a full size crayon in 4 pieces this is the best size to work with but obviously any size will work.
Bake them for about 8 minutes (or until they loose their shape) in a 300' oven.
I put the molds onto a aluminum foil lined cookie sheet just to prevent spills.

Let them cool on the counter for about 15 minutes and then put them in the freezer for another 15-20 minutes until hardened. Then just pop them out.  

Put them in cello bags or package them together with some coloring books for a cute gift.
We are just giving each child one in my son's class for a Valentines day favor.
It cost me next to nothing to make, they kids got to make them themselves & in my opinion they are so much better than all that CANDY they get!

Enjoy!!!


Monday, February 7, 2011

Kid's Valentines Day Card Boxes 2011

I have to say, I look each year for inspiration on this topic on the Internet, and don't really find too many fresh, new ideas. So I sorta tweaked something I found this year that was meant for candy favors. And the other is pretty much copied from what I found.

Family Fun magazine online came thru for me this year. It is where I got the inspiration for my 2 son's Valentine's Day Card boxes this year (2011). We had fun making them as usual. My kids really get into what cool creations they can make each year. I like to think they got most of their creativeness from ME! :)

Before I get started, let's just take a peek at what we created last year just for kicks.

Here are their card boxes from last year. T-man's took ALOT of time. It was his first time making one (Kindergarten), so we spent extra time on it. Sorry no photos before or in process. This is before I was blogging.


The tag says "Will You Be My Valentine". It is basically 2 boxes (one smaller than the other). Wrapped in silver wrapping paper (you could also use aluminum foil). His arms are small metal Slinky's we found in the Target Dollar Spot. His eyes are 2 of those little metallic kaleidoscope plastic party favors (found in the party favor section at Walmart). And a red paper heart doily and some foam stickers complete him.

C-man's I can't take credit for. His previous preschool made them with them. I only had to bring in a cereal box wrapped in white paper (they even provided the paper). They did all the cutting and the rest of the decorating with the kids while in class. They do variations of this style box every year. Ranging in just about every animal you can imagine. Even making a self portrait so to speak of themselves one year.

Well here is what we did THIS YEAR!


HERE is where I got the inspiration for my oldest son's card box.
Rock Candy
It is meant as a candy wrapper to cover those little boxes of conversation hearts. I just made a little bit bigger version for my son's card box.
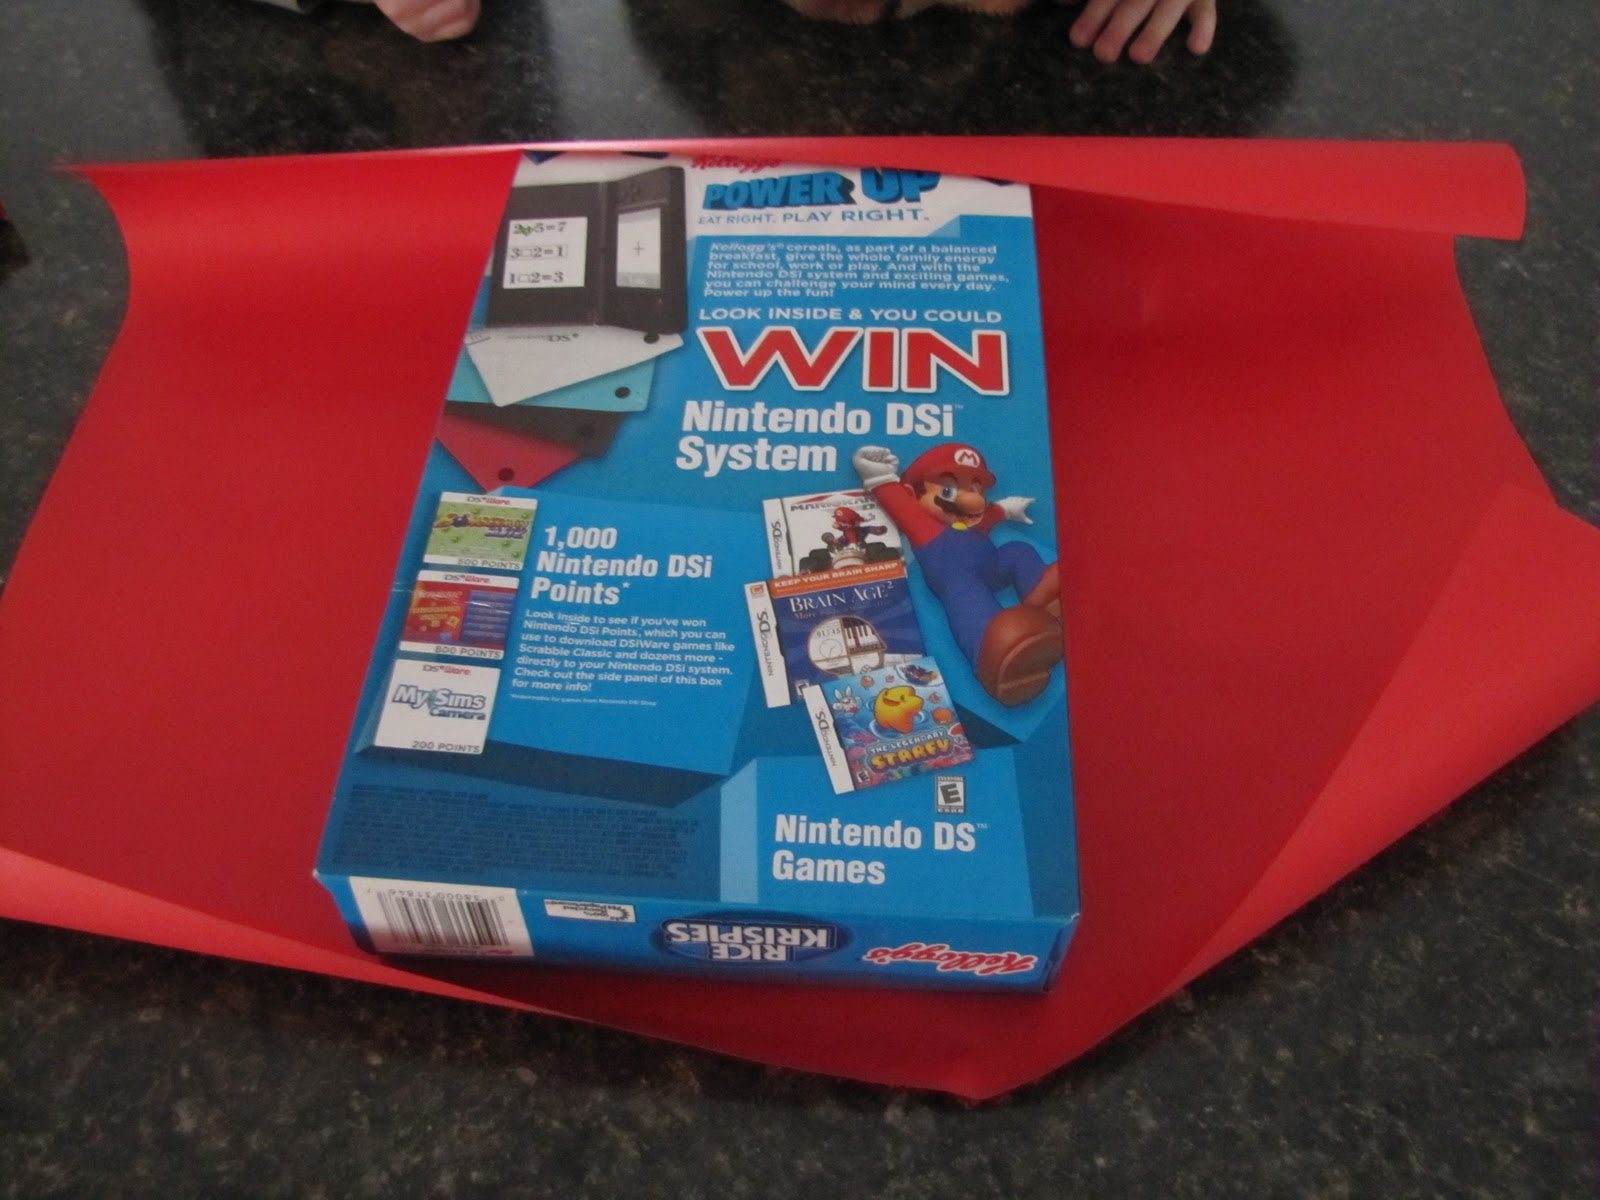
We started with a Cereal box.

I taped it shut and wrapped it in red construction paper like a present.

Here is the finished product. I made up the Play list & Menu in Microsoft word. Added some heart foam stickers and some ear buds.

Here is a close up.


Here is where they put the cards.

Here are the downloads for the MENUPLAY LIST if you want to make your own.

Here is what I made for youngest! The inspiration came from HERE.Chews a Card
This one I pretty much followed the instructions, and just gave it a bit of my son's personality & creativity and worked with what I had on hand.
He LOVED it! And the best part, it was SOOO EASY to make!

I just spray painted a Kleenex box. Added a foam heart for the nose. The teeth are made of green felt I just cut. His eyes are just pipe cleaners wrapped around a pen. Eyes are circle punched card stock with eye stickers.

The BEST part about both projects is I didn't buy a single thing. I just dug in our craft stash to put them all together!

Enjoy!!!


I am linking up to these FABULOUS parties:
monogram


Friday, February 4, 2011

ORGANIZTION: Keepsakes Day #18

Keepsakes Day #18

I just LOVE this idea. I am a planner & organizer. I am also a PACK RAT! I keep everything. Especially when it comes to my kids! When I saw this idea, I thought how PERFECT! Something to keep all those mementos and keepsakes organized! If I keep it up through the years, think about how cool it will be to pull these baby's out at their Graduation from High School!!! I will be SO AHEAD of the game!!!! :)

Here is the FABULOUS example from Jen over at "I heart organizing".

Here is her son's binder.


And his file for school artwork.
I am sorta going to combine the two to make a system that works for me!

I started out with some Retro School Daze scrapbook paper from Show & Tell called "Homework". For those Winona, MN readers, I got it from Scrapper's Haven scrapbook store in the Winona Mall.


I gathered my supplies, printed off some letters for the boy's names, and some of the templates Jen over at "I heart organizing" created.


Sorry, I can't get these photos to flip. Here is what the finished binders look like.


A sneak peek inside. I started out with preschool. Which both my boys attended for 3 years before starting Kindergarten.


Tyler's binder.


A sneak peek inside.


Here is the fronts.


Here is a close up of my "Mobile Command Center" which I file their important school keepsakes/art/awards prior to filing them. I clean them out and file in the proper place about once a month.


Here they are in their home with all my photos & albums.


A close up.

Enjoy!!!!


I am linking up to these FABULOUS Parties:
href="http://abowlfulloflemons.blogspot.com" target="_blank"><img src="http://i158.photobucket.com/albums/t99/tonihammersley/21dayorganizingchallenge175.jpg" />


Thursday, January 13, 2011

ORGANIZATION: Toy Organization Day #9

Toy Organization & Storage Day #9

I am glad she covered this area as I just reorganized my boys toys right before Christmas in preparation for the Christmas windfall they always have. So I don't have any before photos unfortunately. And the systems I have in place really work well for our family The boys do really well at keeping things in their place. I organized it like a Preschool or Kindergarten room. Having a spot for everything. I used labels for everything. And since my youngest still can't read yet, I used photos on my labels for him to be able to see what was in each bucket.

Here is my oldest son's room:

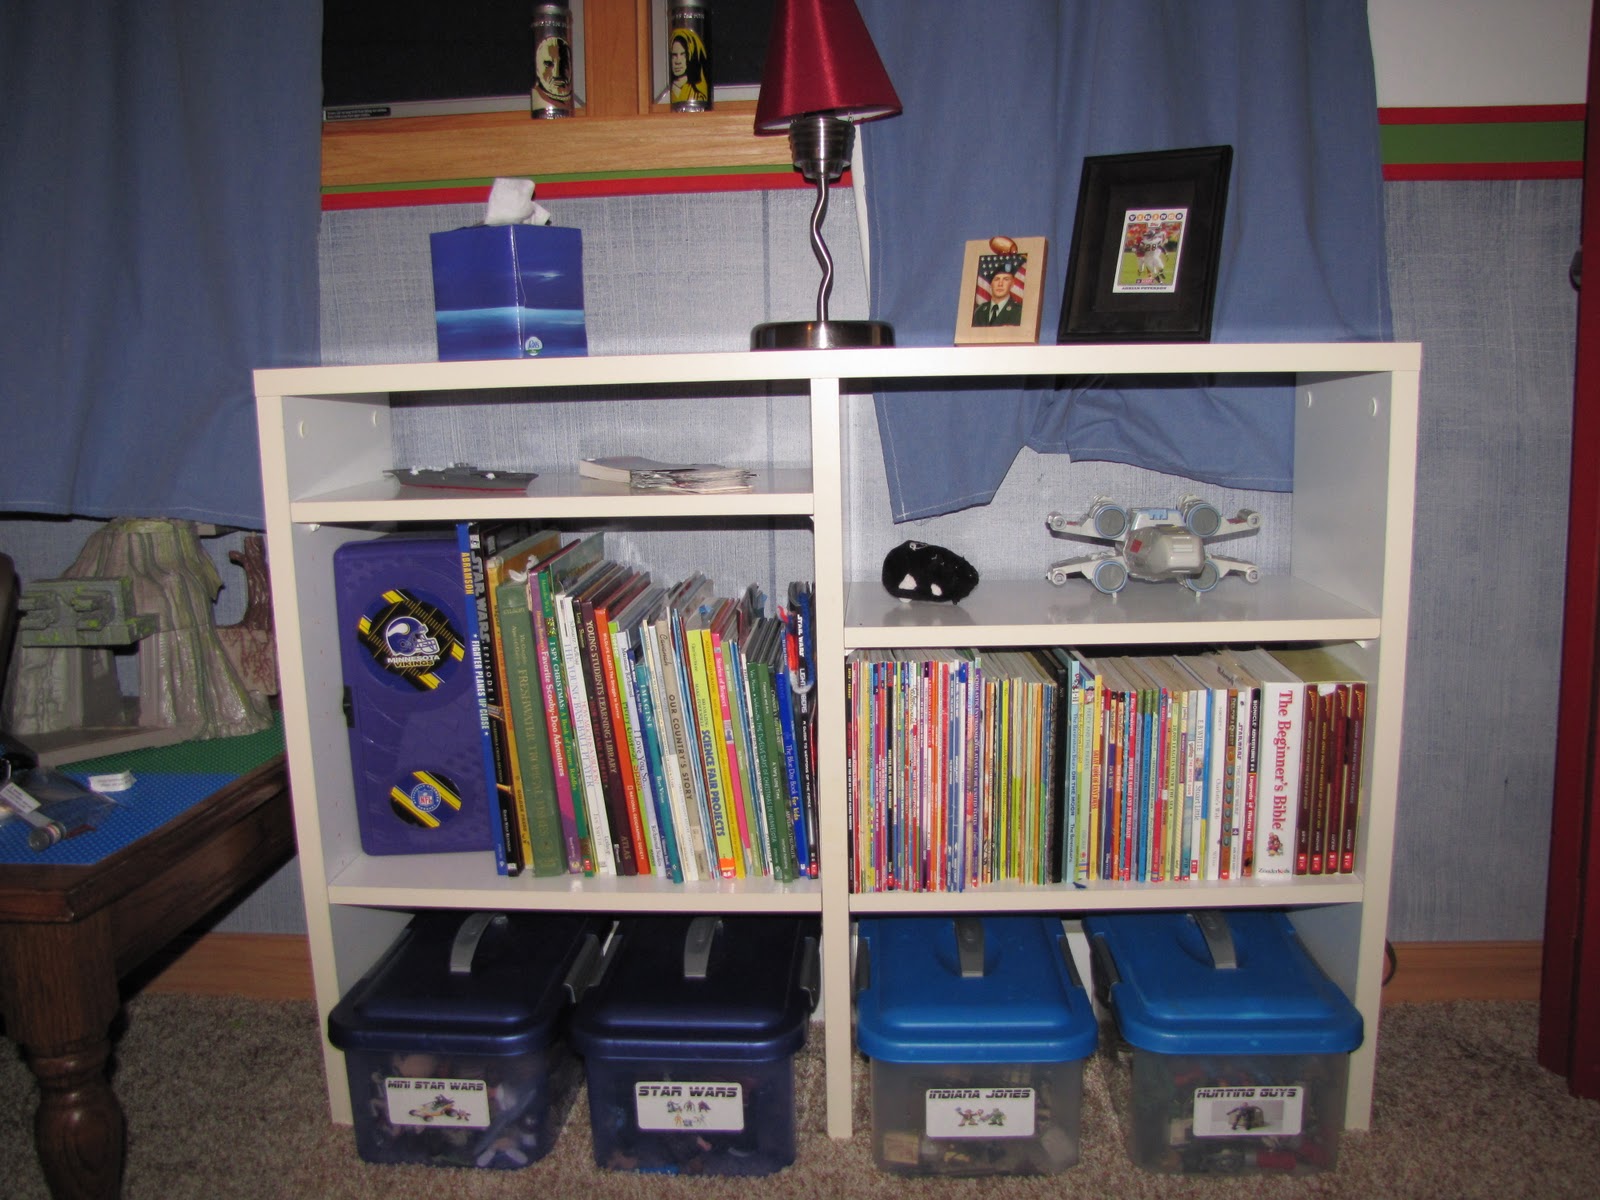
This is his bookshelf with some of his toy storage.

His star wars buckets. He has the regular figures as well as the Galactic Hero size mini figures.

Here are his Indiana Jones figures & hunting guys.

A close up of his mini Star wars figures.

Here are some shelves in his closet. This area is very hard to photograph as it is a tight space.
Top shelf is for his magazines & middle shelf houses our View Master projector & slides.

Bottom shelves in his closet.
Smaller hunting guy sets, puzzles & army guys & play sets.

A close up of his smaller hunting guy stuff.

Close up of his army guys & sets.


Our Thomas the trains.

Here is my youngest son's closet. It holds most of his toys.
Full view of closet.
His toy bins which house most of his smaller toys.
I like this system as it keeps all those small toys out of the bottom of the toy box.
We only use a toy box for the bigger items.

A close up of his shelves.
His Knex I kept in their original boxes.

Close up of the "dress up" stuff....AKA handcuffs, sheriff badges, etc.

Here is the label I made. Most of my images I got off the Internet, but sometimes you just can't find what you need. So I took a photo myself to represent what was in the bucket.

Here is my original photo.

Close up of Super Heroes label.

The photo I took for the image.

Here are a few more toy storage areas in his room.

I like to re purpose things versus buying. These old jars make a perfect spot for his smaller bugs, and bouncy ball collection.

Here is my youngest son's bookshelf.

His big bug bucket here is a re purposed cheese ball container.

This re purposed bug container held mixed nuts & was from Target I believe.
I know....we have alot of BUGS! My youngest is obsessed!


I also posted all about our LEGO storage organization a while back. To see all about how we organized my son's LEGO collection check it out here!!! As well has how to get these cool FREE Lego labels too!

Enjoy!!!


I am linking up to these FABULOUS Parties: