Showing posts with label Vinyl. Show all posts

Monday, November 29, 2010

Christmas Vinyl Stocking Hanger

Do you guys remember when I won $50 worth of vinyl from Today's Creative blog & Say it on the Wall??? Check it out here
Well here is one of the projects I made with some of it. It is a Christmas Stocking holder.
We don't have a fireplace or a mantle :(
So hanging the Christmas stockings have always been an issue on where can I hang them. So this is my solution.
I started with a old board I picked up at the Habitat for Humanity Restore a few months back for 50 cents.

I sanded it down good. Then I spray painted it red.


Once it was dry & added my beautiful vinyl from "Say it on the Wall".
Then I added silver hooks I picked up at Menard's for 79 cents a piece.


I added some picture hangers on the back & WHOLA!!! A new way for me to hang & display our Christmas stockings!


Enjoy!!!!


I am linking up to these FABULOUS parties:


Wednesday, October 13, 2010

Halloween Vinyl Project

Here is my 2nd project I made with the FREE vinyl I received from Today's Creative Blog giveaway I won (THANKS Kim). And THANKS to Laura over at Say it on the Wall for helping me create this CUSTOM vinyl product!

Here was my inspiration.

SUPPLIES: (all of which I had on hand, other than the vinyl)
Vinyl
Scrap piece of Board
Spray Paint
Acrylic Paint
Foam Brush
Painter's Tape
Clear Acrylic Sealer
Wire
Beads
Drill

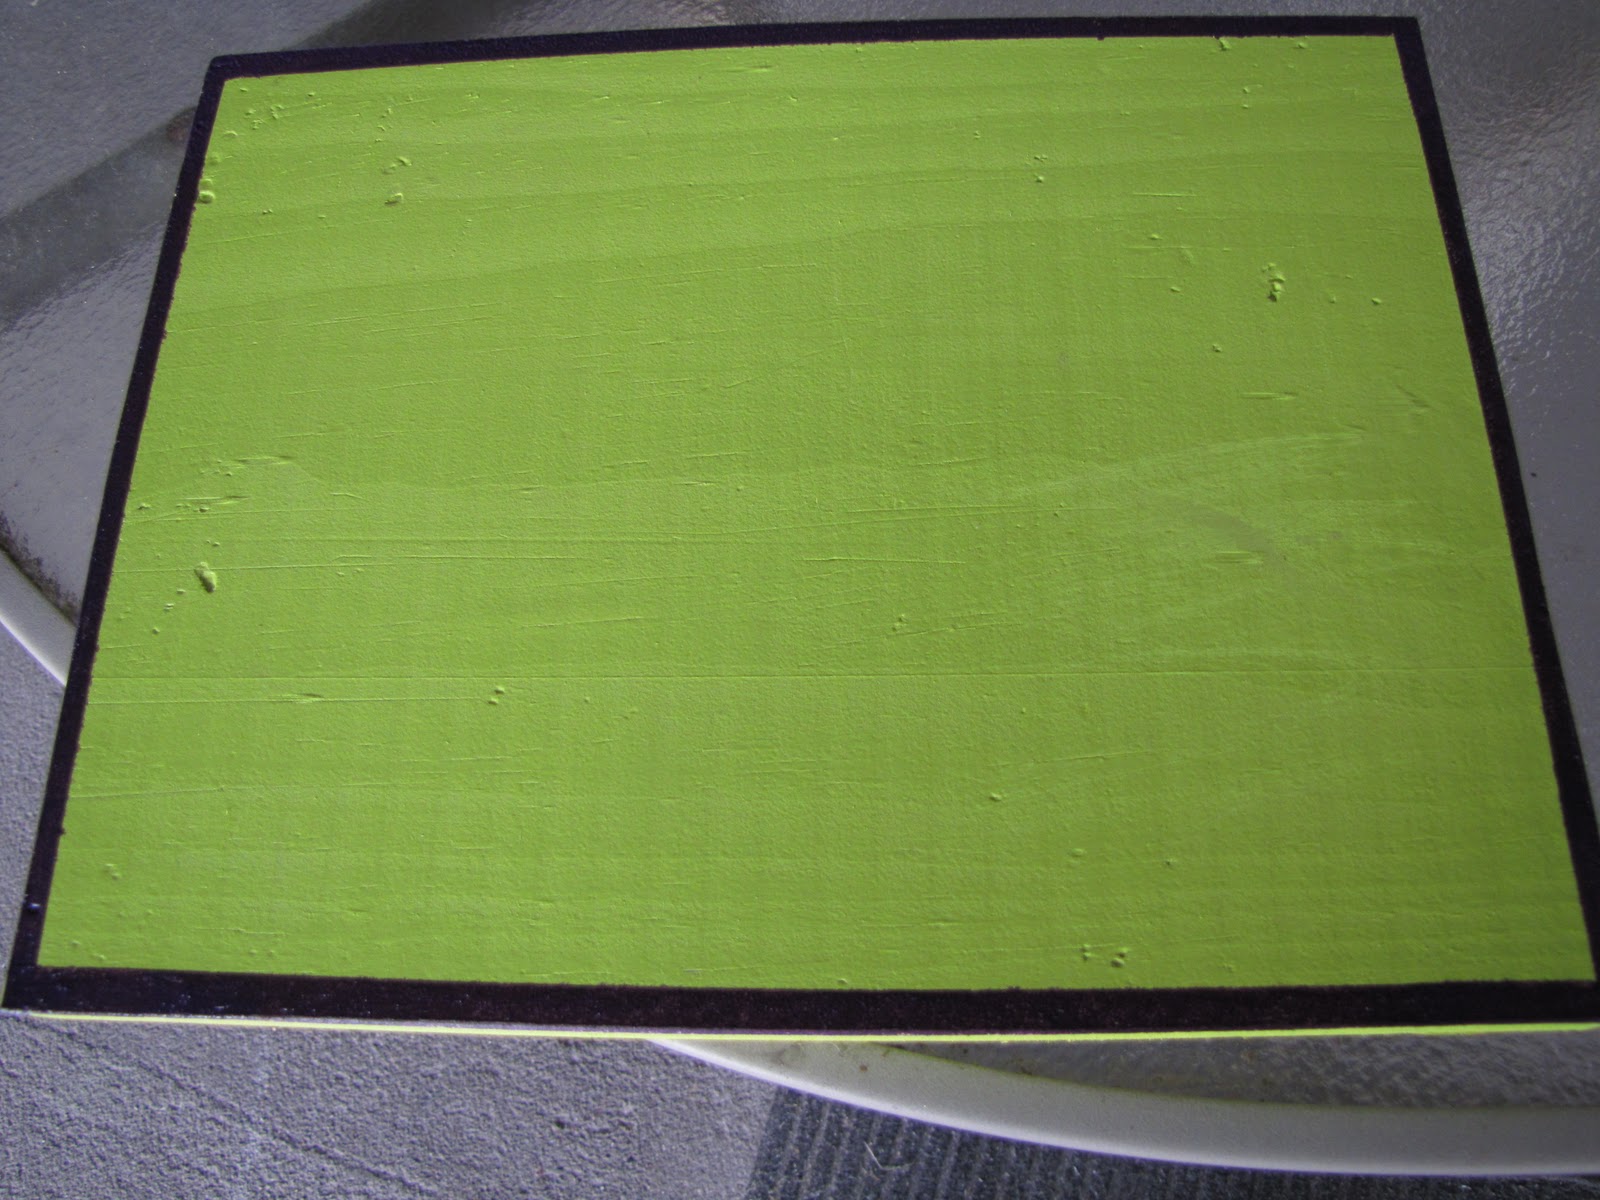
I started out with spray painting the board in Rustoleum's .....spray paint.

After the paint dried I taped off my border & painted that border a deep purple.

Once dry I removed the tape.

Then added my vinyl.

I got my beads & wire out & ready.

Then drilled 2 hole & strung the wire through the holes & added the beads.


I used a pencil to create the curly Q's on the wire.


Enjoy!!!


I am linking up to these parties:


The Girl Creative
Photobucket


Tuesday, October 12, 2010

New Vinyl Projects!

Hi Folks! Sorry for the lack of posts this past week. Things have been super busy at the Groth household. I am currently job searching...trying to go back into the workforce full time after being home with the kiddos for the past 7+ years. This has been a "job" in itself! And has been a bit frustrating for me. I also have been busy with outside projects, as we are having some much needed landscaping done. He is suppose to be starting by the end of the week (I hope). There was some "homework" that our landscaper gave us to do before he came. So I have been very busy with all that.

Well anyhoo, lets get to the projects!
Remember how early last week I was honored by Kim over at "Today's Creative Blog"? Here it is to refresh your memory. And do you remember how I won her Giveaway which was $50 buckaroos worth of vinyl over at Say it on the Wall? Well my vinyl order came in late last week. They were SUPER fast at shipping it, and also were so very wonderful to help me create some CUSTOM products just for me! I had a vision for 2 items I wanted. They helped make it a reality. Then I got 2 products that were already pre-designed. They had a GREAT selection! It wasn't hard for me to spend the $50 that's for sure! Can you believe I got 4 different products with my $50 buckaroos?!? Did I say they were also VERY REASONABLE too! Make sure you go over & check them out here!
THANKS AGAIN LAURA & KIM!!!

So here is what I have been up too, as far as projects go. I sneak time in to do "my kind" of projects every chance I get. Especially when a package comes in the mail for me that is all about CREATIVITY!

This first project was one of their pre-designed products! Here it is on their website.
"Be True To The Family Name You Bear" is the product name. Just in case you want one of your own!

SUPPLIES:
Vinyl
12" Tile (I got mine from Menard's for 94 cents)
Clear Acrylic Sealer Spray (on hand)

Here is the finished product!

I LOVE IT!!! Now where to put it!!!
Do you guys ever have that problem? You create beautiful, wonderful things & haven't figured out quite where it will go yet?? I hope I am not the ONLY one! :)

Enjoy!!!

Friday, September 24, 2010

Cupboard Door Art

Here is another project with one of my Uppercase Living Quotes I found while organizing. I found like 6 different quotes & images. I LOVE vinyl just never got around to putting them up. And with the fact our house is on the market, I knew when it sold I wouldn't be able to take it with me. Making art & plaques with them insures that I can take them with me! :)


I found this old cupboard door at the Habitat for Humanity Restore. It was 50 cents. I found 2 of these that day, this one fit my quote better.

BEFORE

BEFORE (Close up)


I flipped it over. I used the back side of the cabinet for the quote. I used my wood putty to fill in the hardware holes. I then gave her a good ole sanding. Cleaned off the sanding dust.


Then I primed her with my Rustoleum Primer. Then finished her off with Krylon Blue Ocean Breeze spray paint.
*Have I mentioned that I am in total LOVE over this color!
Once all of that dried, I added my vinyl quote.

AFTER

Enjoy!!

Thursday, September 23, 2010

Laundry Room Art

Well this has been a rainy week here in MN! Overnight alone, we got over 6 inches of rain. The main highway was down to one lane due to mudslides this morning. And a neighboring WI town had their downtown flooded & several businesses & school closed due to the flooding. With rain expected to continue thru Saturday, things could get ugly! So that's my little weather report for the day. On a positive note, it's a PERFECT day to get projects done INSIDE!

On with the project. As I have been cleaning out, organizing and getting ready for our Fall garage sale, I can across a pile of vinyl word sayings & images that I have bought through the past couple years from Upper Case Living parties I had been invited too. I found one for the Laundry room. And my laundry room is currently undergoing a slight transformation, as I just got a pair of front loading appliances (washer & dryer).
I am currently working on handmade pedestals for them to sit on. Details on that project coming soon!
So I started out with a picture I found at the thrift store for $2.
BEFORE

I took the thrift store picture apart and separated the three pieces.


BEFORE

I then took the frame & sanded it down a bit, wiped off the dust particles & spray painted it with Glossy White spray paint.

While that was drying, I searched my scrapbook paper stash and found some coordinating paper to use as the background. I cut it to size to fit by using the previous picture as my guide.

Once the paint dried I put it all back together & WHOLA!!!
New modern Art for my Laundry area! Simple, easy & THRIFTY!

AFTER

AFTER (CLOSE UP)

More on my Laundry room transformation coming soon!

Enjoy!!!