Showing posts with label Valentines Day. Show all posts

Friday, February 11, 2011

Recycled Crayon Hearts for Valentine's Day

This project is really EASY & really THRIFTY!
My kids really enjoy this project. We have made these crayons several times before. They love creating different color combinations and love seeing the end result.

Supplies you will need to get started:
Old Crayons
Muffin Tin/Silicone Mold (any shape or size)
*My heart shape molds came from the Dollar Tree.
Almost every holiday they have them in the coordinating shapes for that season.
I have had the heart molds for a few years now.

This gallon Ziploc bag came from the Salvation Army on one of my Thrift Store outings. 30 cents for this entire bag was a great deal in my book.


You need to peel all the wrappers off the crayons. (This is the time consuming part!)
Then just break them into pieces. If you break a full size crayon in 4 pieces this is the best size to work with but obviously any size will work.
Bake them for about 8 minutes (or until they loose their shape) in a 300' oven.
I put the molds onto a aluminum foil lined cookie sheet just to prevent spills.

Let them cool on the counter for about 15 minutes and then put them in the freezer for another 15-20 minutes until hardened. Then just pop them out.  

Put them in cello bags or package them together with some coloring books for a cute gift.
We are just giving each child one in my son's class for a Valentines day favor.
It cost me next to nothing to make, they kids got to make them themselves & in my opinion they are so much better than all that CANDY they get!

Enjoy!!!


Wednesday, February 9, 2011

Thrifty Valentine's Day Wreath

I created this little wreath for next to nothing.
And it took me all of like 5 minutes!

I gathered my supplies:
A Foam Heart Wreath form (thrift store find for 30cents)
Some Red Furry Wire Ribbon 2 spools (Dollar Tree $2)
A small piece of left over Silver Ribbon (recycled from Christmas)

I basically hot glued the ribbon to start it. Then I just wrapped the ribbon around until I made it all the way back to the beginning. This took 2 spools of ribbon. Used my left over ribbon for a hanger and

WHOLA!!!
Instant Valentines Day wreath! And for only $2.30.

Enjoy!!!

Monday, February 7, 2011

Kid's Valentines Day Card Boxes 2011

I have to say, I look each year for inspiration on this topic on the Internet, and don't really find too many fresh, new ideas. So I sorta tweaked something I found this year that was meant for candy favors. And the other is pretty much copied from what I found.

Family Fun magazine online came thru for me this year. It is where I got the inspiration for my 2 son's Valentine's Day Card boxes this year (2011). We had fun making them as usual. My kids really get into what cool creations they can make each year. I like to think they got most of their creativeness from ME! :)

Before I get started, let's just take a peek at what we created last year just for kicks.

Here are their card boxes from last year. T-man's took ALOT of time. It was his first time making one (Kindergarten), so we spent extra time on it. Sorry no photos before or in process. This is before I was blogging.


The tag says "Will You Be My Valentine". It is basically 2 boxes (one smaller than the other). Wrapped in silver wrapping paper (you could also use aluminum foil). His arms are small metal Slinky's we found in the Target Dollar Spot. His eyes are 2 of those little metallic kaleidoscope plastic party favors (found in the party favor section at Walmart). And a red paper heart doily and some foam stickers complete him.

C-man's I can't take credit for. His previous preschool made them with them. I only had to bring in a cereal box wrapped in white paper (they even provided the paper). They did all the cutting and the rest of the decorating with the kids while in class. They do variations of this style box every year. Ranging in just about every animal you can imagine. Even making a self portrait so to speak of themselves one year.

Well here is what we did THIS YEAR!


HERE is where I got the inspiration for my oldest son's card box.
Rock Candy
It is meant as a candy wrapper to cover those little boxes of conversation hearts. I just made a little bit bigger version for my son's card box.
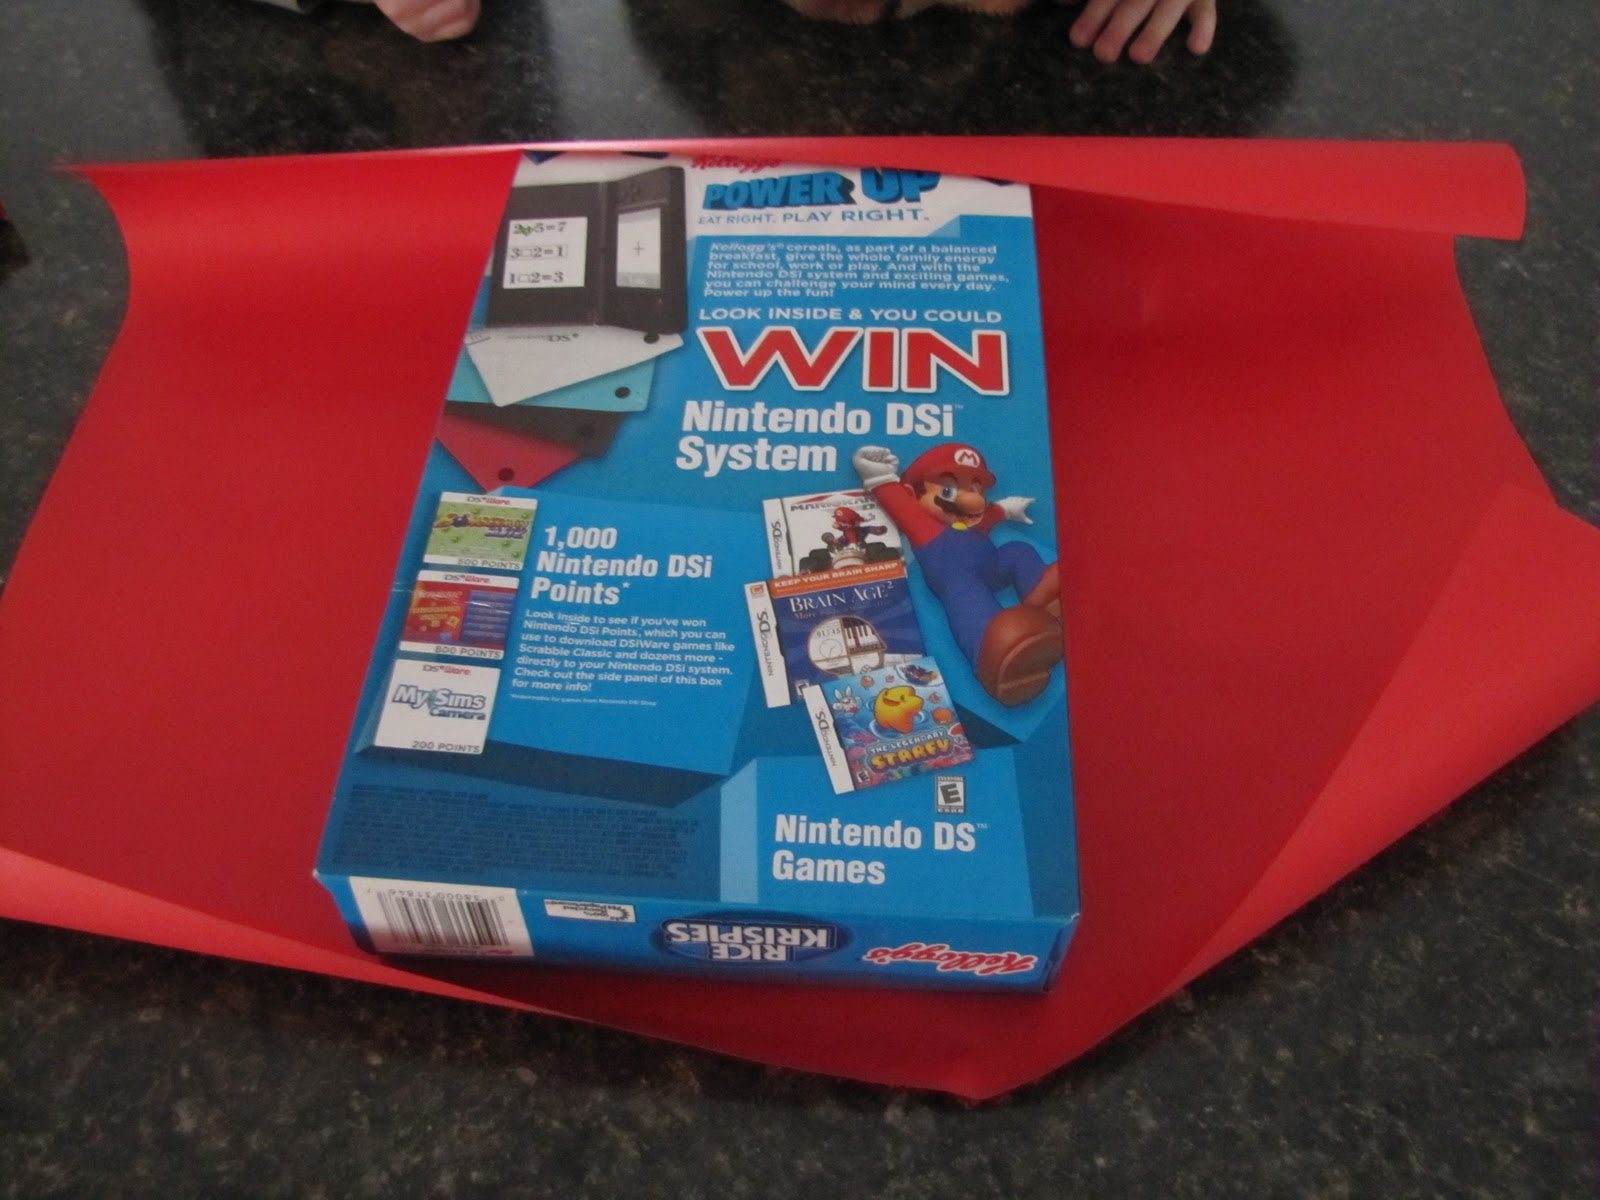
We started with a Cereal box.

I taped it shut and wrapped it in red construction paper like a present.

Here is the finished product. I made up the Play list & Menu in Microsoft word. Added some heart foam stickers and some ear buds.

Here is a close up.


Here is where they put the cards.

Here are the downloads for the MENUPLAY LIST if you want to make your own.

Here is what I made for youngest! The inspiration came from HERE.Chews a Card
This one I pretty much followed the instructions, and just gave it a bit of my son's personality & creativity and worked with what I had on hand.
He LOVED it! And the best part, it was SOOO EASY to make!

I just spray painted a Kleenex box. Added a foam heart for the nose. The teeth are made of green felt I just cut. His eyes are just pipe cleaners wrapped around a pen. Eyes are circle punched card stock with eye stickers.

The BEST part about both projects is I didn't buy a single thing. I just dug in our craft stash to put them all together!

Enjoy!!!


I am linking up to these FABULOUS parties:
monogram


Thursday, February 3, 2011

Dollar Tree Valentines Day Art

Sorry I am late on this post. I have had this done for about 1 week now, but have been really overwhelmed with work & my household stuff. I still have to post about the last few days of my 21 organizational challenge. I have my stuff done & documented with photos. I just have to have time to post them!
Well here is my Valentine's Day decor. Most of which done on the cheap thanks to the Dollar Tree!!!

This is the first project.
I started out with this wooden "LOVE" sign from the Dollar Tree.
I spray painted it with Cherry Red spray paint.

Once dry I sprayed it with spray adhesive and sprinkled it heavily with red glitter!

Easy Peasy Lemon Squeezy! Super sparkly and glittery Valentines day art which only cost me a buck!

Next up, some Vday art in frames!
I got the idea for one of these frames from over at "Pleasant Home". Read all about it HERE.
This is my version.
I started out with some spray paint & 2 frames, also a package of flower petals soaps, from where else? The Dollar Tree.

I spray painted them all pretty. One Red, One Pink.

Then I added my "Art".

This one I just added some Valentines Day scrapbook paper I had laying around. Then I took those Dollar Tree flower petal soaps (the heart package above). I used the lid as a heart template and hot glued them into the lid. I also hot glued the lid directly onto the glass on my frame.
The little heart gems I picked up at the Dollar Spot at Target.The glass apothecary jars I had.

Here is a close up. 

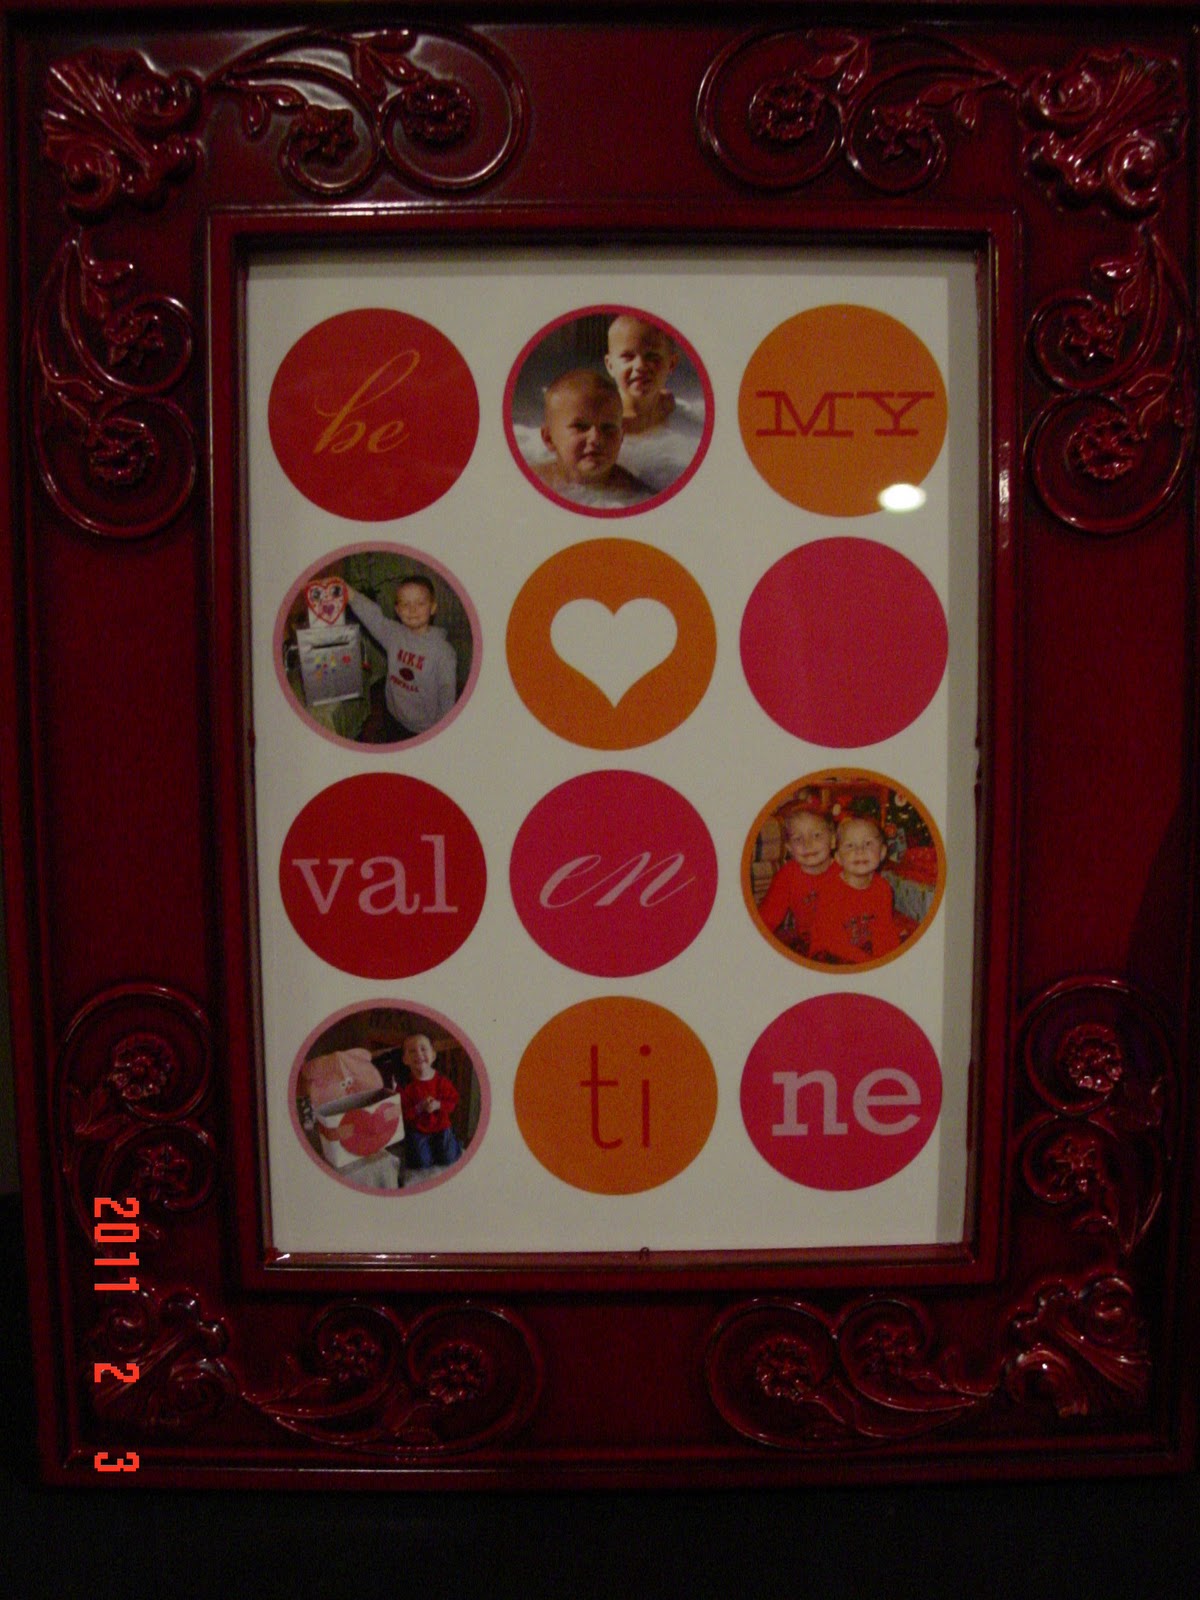
The red frame I took a Valentines Day Card, I ordered for FREE from Shutterfly and just framed it into the card. I used some photos of my sons from the past few months, and some from last Vday.

Shutterfly was offering 1 free card so I ordered a Vday one with this sole purpose in mind!

I really don't have too many things for Vday so it was fun to create some things, and better yet that it cost me next to nothing.


My youngest last year Vday. He made his card box at preschool out of a cereal box.

My oldest last year Vday. Here is the Love Robot we had fun making for his card box.

Here is the bird candle holder I picked up SUPER clearanced out at Shopko's Christmas clearance. It was like $6. It is not really Valentiney, but I LOVE birds, and it's neutral color fit well with this display.

Here it is all together.

Enjoy!!!!


I am linking up to these FABULOUS Parties:


Paper Issues Blog Design


monogram

The Girl Creative


Monday, January 24, 2011

Valentines Day Subway Art

You have to go over to "Craftily Ever After" & check out the UBER cute V-day's subway art that she made! I just have to have it for my Valentines Day display! I just LOVE me some Subway art! Go check it out HERE!!!

And see those cool
Felt Rosette Decor Balls? She will give you a tutorial

on how to make those too!!!

Wow, and the fact it's January 24th, I need to get going on my Valentine's Day display!
Pics to follow!!!

Enjoy!!!